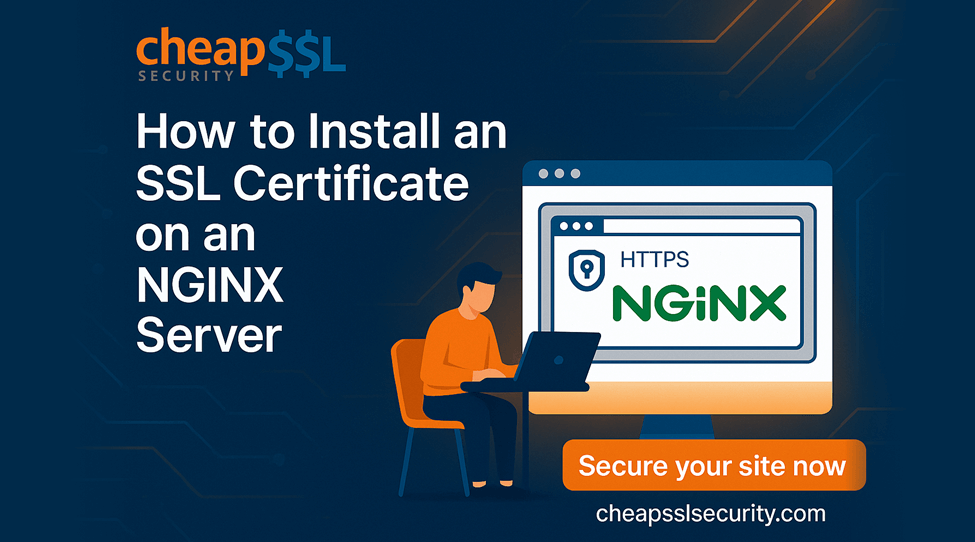
Step-by-step guide to securing your website with HTTPS on an NGINX server
If you’re running a website on NGINX and want to secure it with HTTPS, installing an SSL certificate is essential.
This guide walks you through the process of installing an SSL certificate on your NGINX server and setting up HTTPS correctly. We’ll also show you where to get high-quality, affordable SSL certificates from a trusted provider like CheapSSLsecurity.com, so you don’t overpay for protection.
Prerequisites for Installing SSL on NGINX
Before you begin, make sure you have the following:
- A server with NGINX installed
- Root or sudo access to your server
- A registered domain name pointing to your server’s IP
- An SSL certificate from a reliable provider like CheapSSLsecurity.com, where you can find top brands like Sectigo, DigiCert, and GeoTrust at some of the best prices online.
1. Upload Your SSL Certificate Files to the Server
After purchasing your certificate and completing the validation process, you’ll receive:
- Your primary certificate (e.g., your_domain.crt)
- A CA bundle or intermediate certificate (e.g., ca_bundle.crt)
You should already have a copy of your private key (which you generated during CSR creation).
Upload these files to your server—typically somewhere like:
2. Combine Certificate and Chain (Optional but Recommended)
The CA bundle or intermediate certificate should be combined with your primary certificate:
Save it in the same secure folder. If you combine the files manually, be sure that the primary certificate is listed first in the combined file.
3. Configure NGINX to Use the SSL Certificate
Edit your NGINX configuration file for your website, which may be located at
Sample HTTPS server block:
listen 443 ssl;
server_name yourdomain.com www.yourdomain.com;
ssl_certificate /etc/ssl/your_domain/ssl-bundle.crt;
ssl_certificate_key /etc/ssl/your_domain/your_domain.key;
ssl_trusted_certificate /etc/ssl/your_domain/ca.crt;
ssl_protocols TLSv1.2 TLSv1.3;
ssl_ciphers HIGH:!aNULL:!MD5;
root /var/www/your_site;
index index.html index.htm;
location / {
try_files $uri $uri/ =404;
}
}
Tip: The ssl_trusted_certificate directive is optional but supports OCSP stapling and client authentication if you plan to enable either of those. Make sure it contains your CA’s root and intermediates in PEM format.
4. Redirect HTTP to HTTPS (Optional but Recommended)
To ensure all traffic is encrypted, add a redirect from HTTP:
listen 80;
server_name yourdomain.com www.yourdomain.com;
return 301 https://$host$request_uri;
}
5. Test and Reload NGINX
Make sure your configuration is error-free:
If successful, reload NGINX to apply the changes:
You’ve now installed an SSL certificate and setup HTTPS on your NGINX server!
6. Verify HTTPS is Working
- Open https://yourdomain.tld in a browser and look for the padlock icon
- Use tools like SSL Checker to check the certificate has been successfully installed and configured
Where to Buy a Trusted SSL Certificate for NGINX?!
While there are many sources for SSL certificates, not all offer the same level of trust, warranty, and support. For the best value and options from leading CAs like Sectigo, RapidSSL, and DigiCert, we recommend CheapSSLsecurity.com. You’ll get:
- Up to 90% off retail prices
- Fast issuance, often within minutes
- 24/7 support from SSL experts
- Compatibility with NGINX and all major servers
Summary
Installing an SSL certificate on NGINX and enabling HTTPS involves just a few key steps:
- Purchase an SSL certificate (CheapSSLsecurity.com)
- Upload and organize your certificate files
- Configure your NGINX server blocks
- Test and reload NGINX
- Verify secure access to your site
With the right certificate and configuration, you can protect your users, improve SEO, and build trust.