
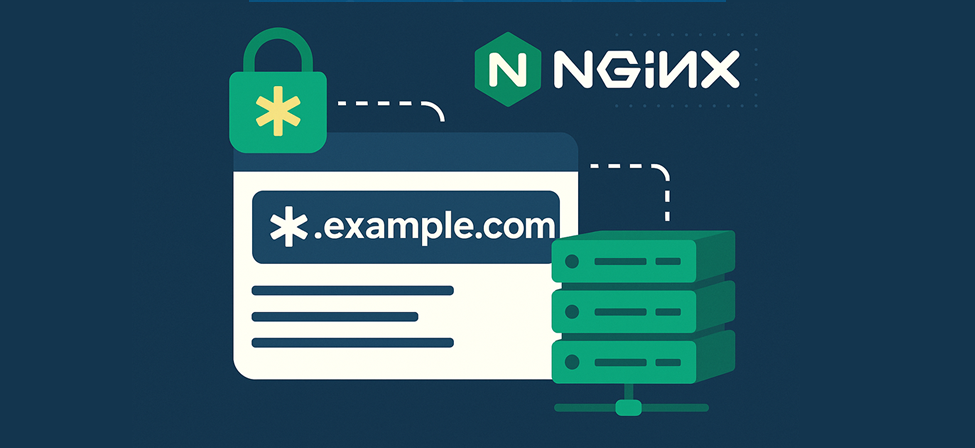
A wildcard SSL certificate allows you to secure a primary domain and all its subdomains with a single certificate.
For example, a certificate for *.example.com secures www.example.com, mail.example.com, blog.example.com, and so on.
This is particularly useful for organizations that host multiple services under subdomains and want to simplify SSL management. Below is a step-by-step guide on how to install a wildcard SSL certificate on an NGINX server.
1. Prepare Certificate Files
Before installing your wildcard SSL certificate on NGINX, make sure you have all the necessary files ready. The private key should already be in your possession — it was generated during the creation of the Certificate Signing Request (CSR), typically on your server or local machine.
If you don’t yet have your SSL certificate, you can buy a wildcard SSL certificate from CheapSSLsecurity.com.
After your certificate is issued by the Certificate Authority (CA), you will receive:
- The wildcard SSL certificate file (e.g., example_com.crt)
- The CA intermediate or chain file (e.g., ca_bundle.crt)
For clarity and consistency, rename the files as follows and place them in a secure directory on your server:
- wildcard.example.com.crt # Your domain certificate
- wildcard.example.com.key # Your private key”
- wildcard.example.com.ca-bundle.crt # Intermediate certificates
2. Combine Certificate Files
NGINX requires the certificate file to include both the domain certificate and the CA bundle. To create a full chain, concatenate them:
Now, you have two important files:
- wildcard.example.com.fullchain.crt
- wildcard.example.com.key
Place these in a secure location (not accessible by the public), typically in /etc/ssl/.
3. Configure NGINX
Open your NGINX configuration file. It’s usually located in /etc/nginx/sites-available/ or /etc/nginx/conf.d/.’
Here’s a typical SSL block for a wildcard domain:
listen 443 ssl;
server_name *.example.com;
ssl_certificate /etc/ssl/certs/wildcard.example.com.fullchain.crt;
ssl_certificate_key /etc/ssl/private/wildcard.example.com.key;
ssl_protocols TLSv1.2 TLSv1.3;
ssl_ciphers HIGH:!aNULL:!MD5;
root /var/www/example;
index index.html index.htm;
location / {
try_files $uri $uri/ =404;
}
}
Make sure file permissions on your .key file are secure (e.g., readable only by root).
4. Test and Reload NGINX
Before applying changes, always test your configuration:
If the test passes, reload NGINX to apply the new SSL configuration:
5. Optional: Redirect HTTP to HTTPS
To ensure secure connections, you can redirect all HTTP traffic to HTTPS:
listen 80;
server_name *.example.com;
return 301 https://$host$request_uri;
}
Final Thoughts
Wildcard SSL certificates simplify the process of securing subdomains under a single umbrella. When used with NGINX, the setup is relatively straightforward, but requires attention to file paths, permissions, and chain structure. Once configured correctly, it enhances both security and efficiency across your server environment.