

Quick Steps to Install an SSL certificate on Zeus Server
Step 1: Download and Extract the Certificate
- When you receive your SSL certificate via email, store yourdomainname.zip file on your server, and extract these two files: “yourdomianname.crt” & “certificateauthority.crt” in the same folder.
- Copy and paste the certificate into your favorite text editor including the beginning and end tags.
—–BEGIN CERTIFICATE—–
(Your Primary SSL certificate: yourdomainname.crt)
—–END CERTIFICATE—–
—–BEGIN CERTIFICATE—–
(Your Intermediate certificate: certificateauthority.crt)
—–END CERTIFICATE—–
—–BEGIN CERTIFICATE—–
(Your Root certificate: root.crt)
—–END CERTIFICATE—–
Step 2: Install an SSL Certificate
- Open the Zeus Web Server
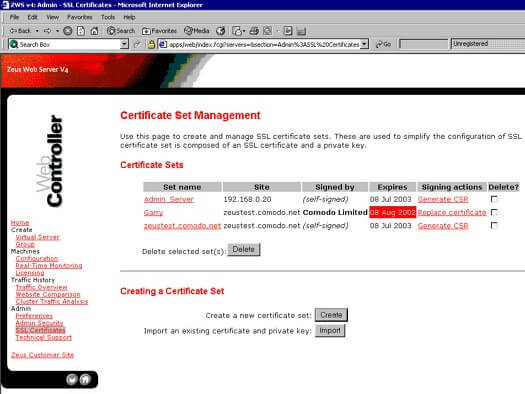
- Select SSL Certificates from the left menu.
- Click on ‘Generate CSR‘ or ‘Replace Certificate‘ from the Certificate Sets.
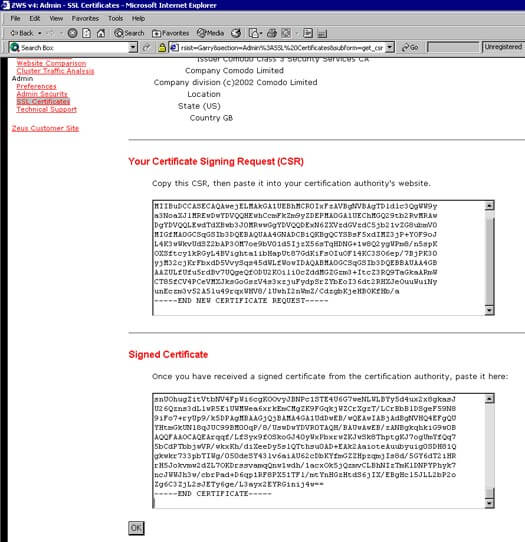
- Copy/Paste the new combined certificate text into Signed Certificate Box, then Click on the OK Button.
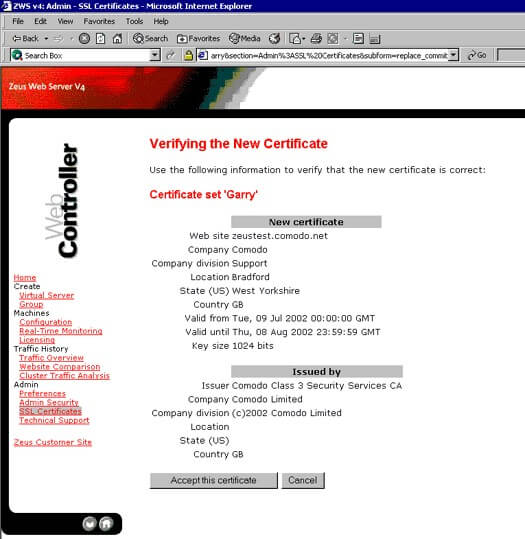
- Now Click on Accept this Certificate Button.
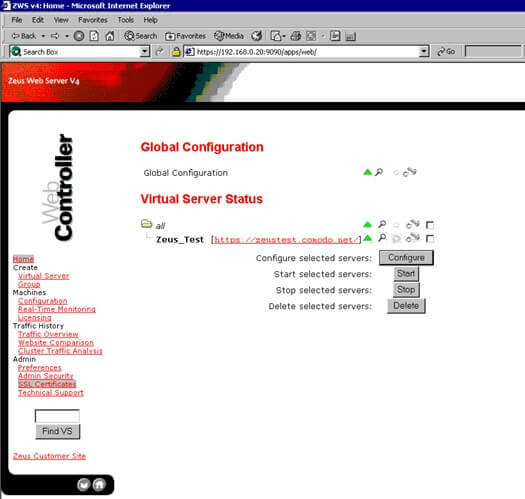
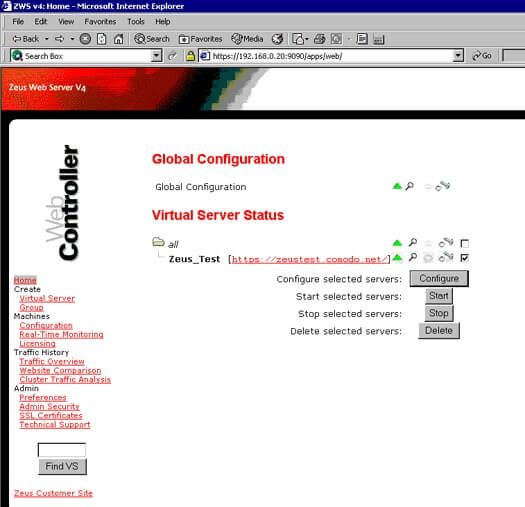
- Click on Home on the Left Side of the screen.
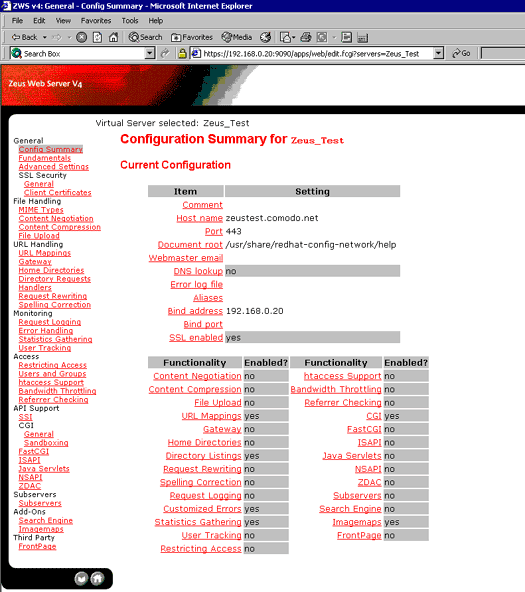
- Under Virtual Server Status, mark the box next to the domain you are securing and press the Configure Button.
- Click on SSL Enable
- Select “SSL is Enabled” and in the drop-down menu select the certificate set to use.
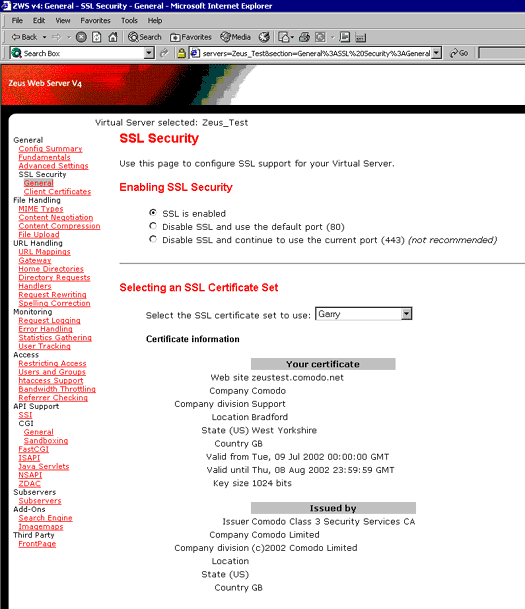
- Apply the changes and Restart the Web Server.
Your Certificate is now successfully installed on the FileZilla Server.


